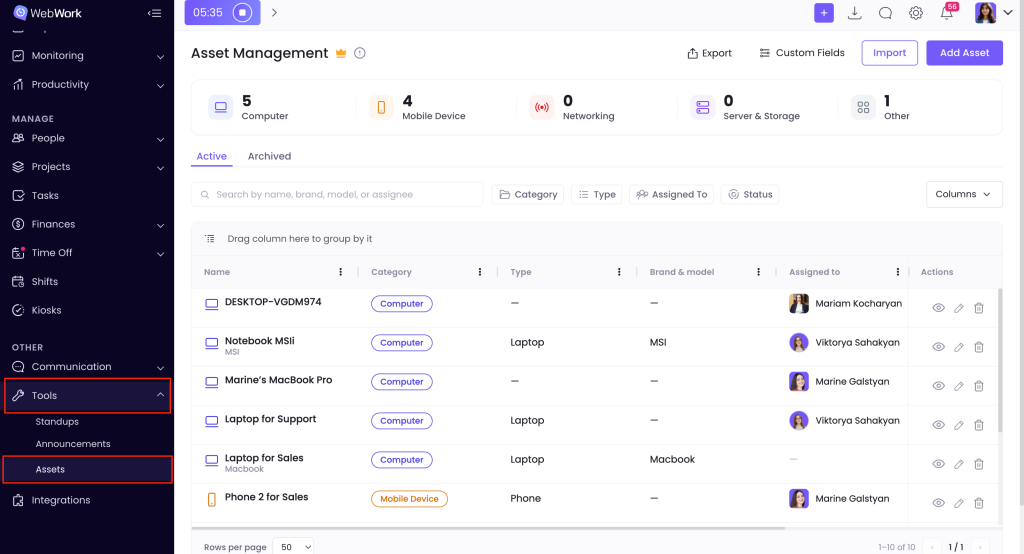
Asset management is available for the users using the Plus or higher plans. This feature helps to track every laptop, phone, and device your team uses. You can access it by going:
- Tools
- then click on Assets
Creating Assets
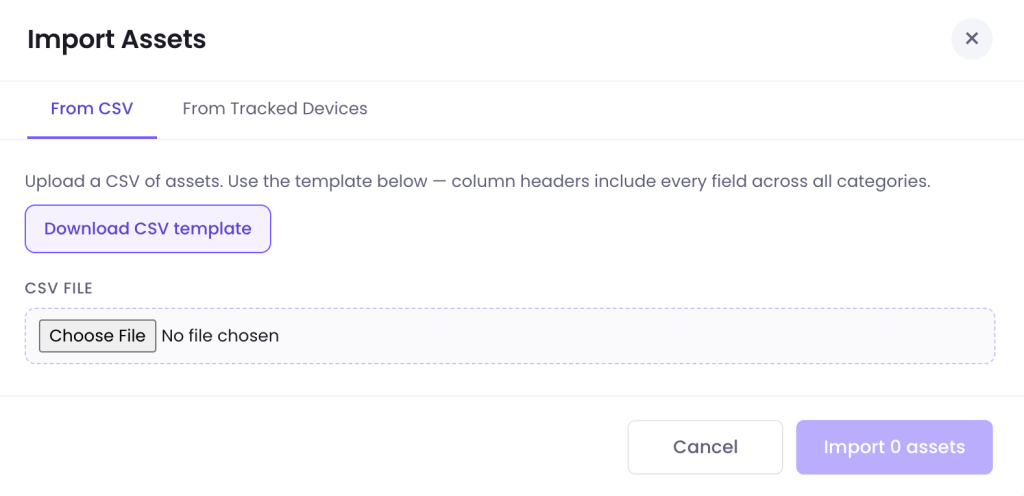
You can either add or import an asset.
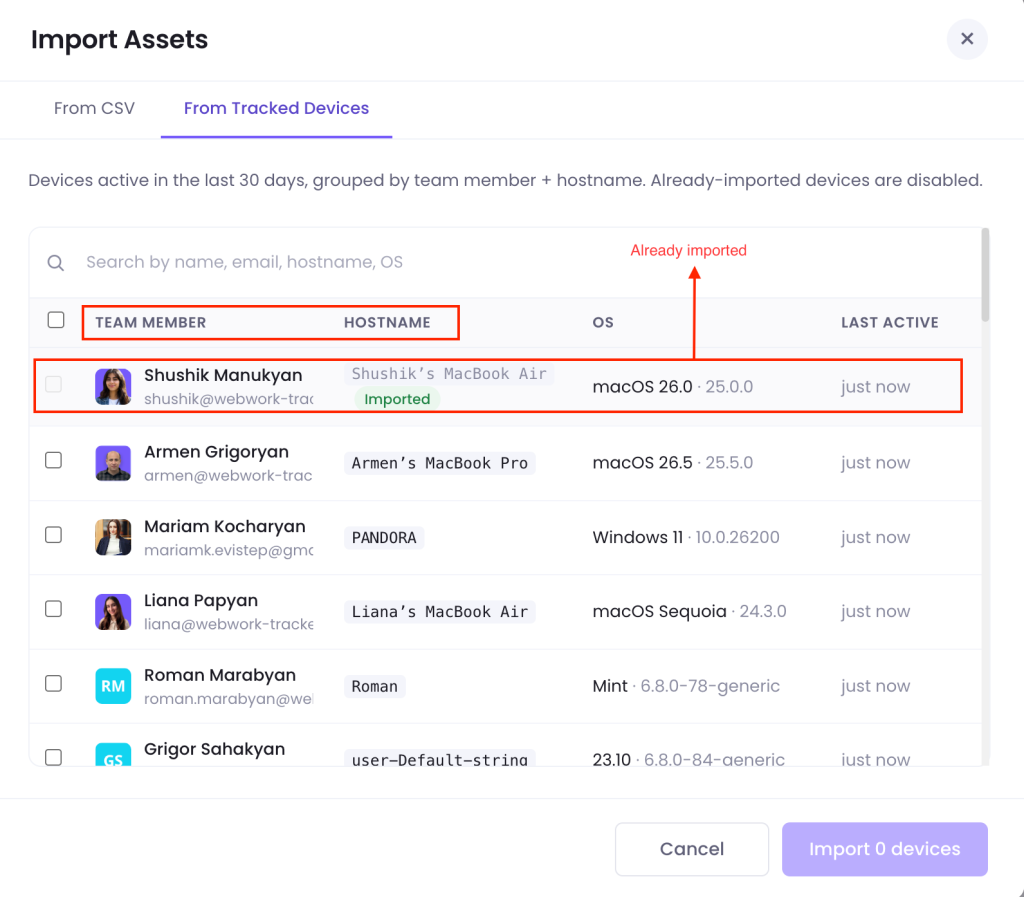
- Importing an asset – You can import assets through uploading a CSV file, based on this template, or from tracked devices. You can see the devices active in the last 30 days in the section, grouped by team member + hostname. Already imported devices are disabled:
- Otherwise, you can add a new a asset by clicking:
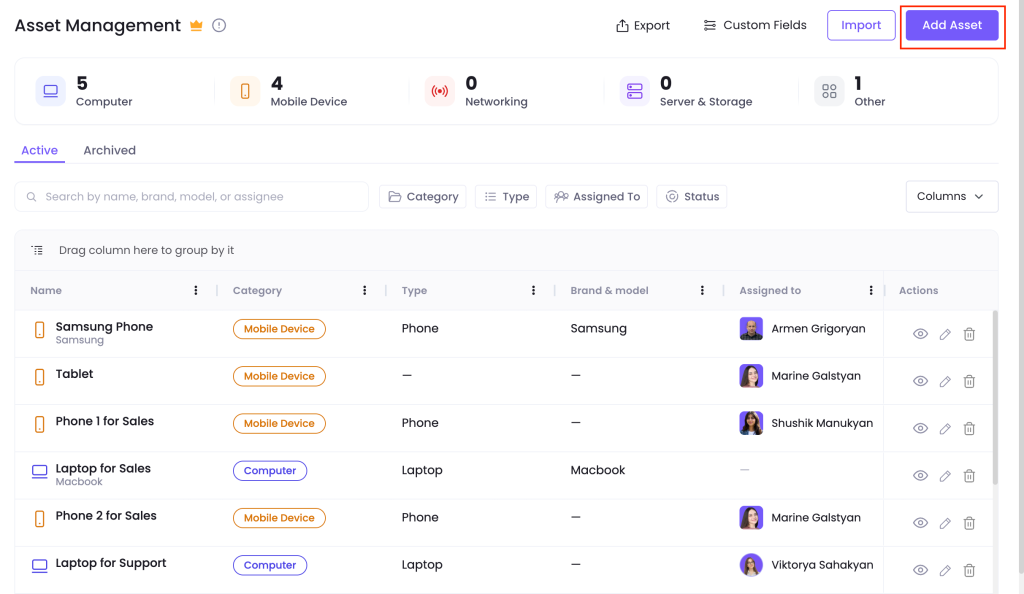
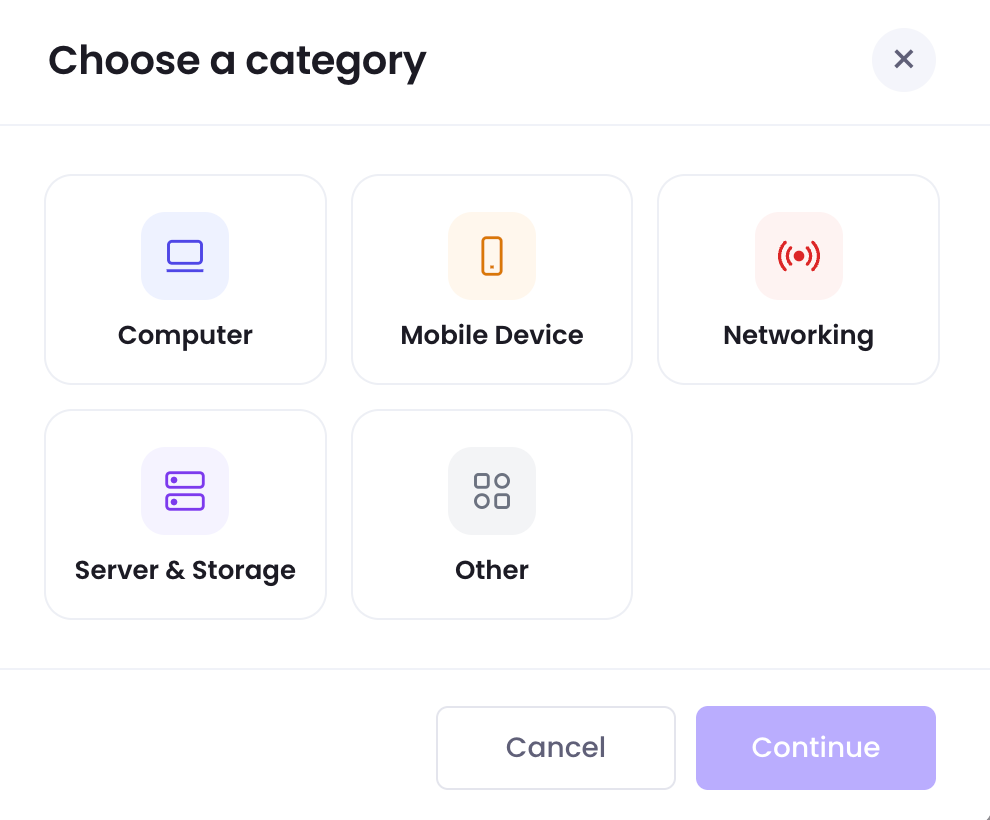
When you click this button, a pop-up appears where you should choose the asset category:
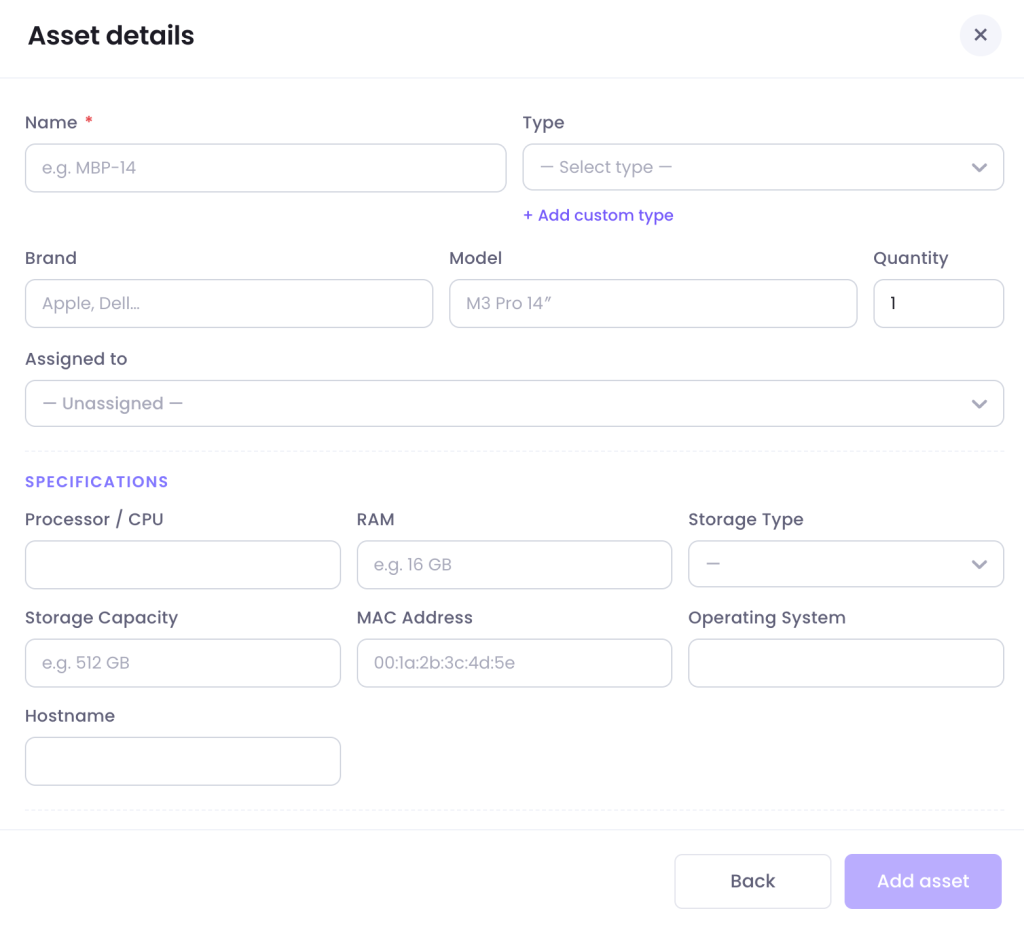
After choosing the category, another pop-up appears where you should also fill the necessary details about the asset and click on Add Asset. Note that each category has its own category-specific properties.
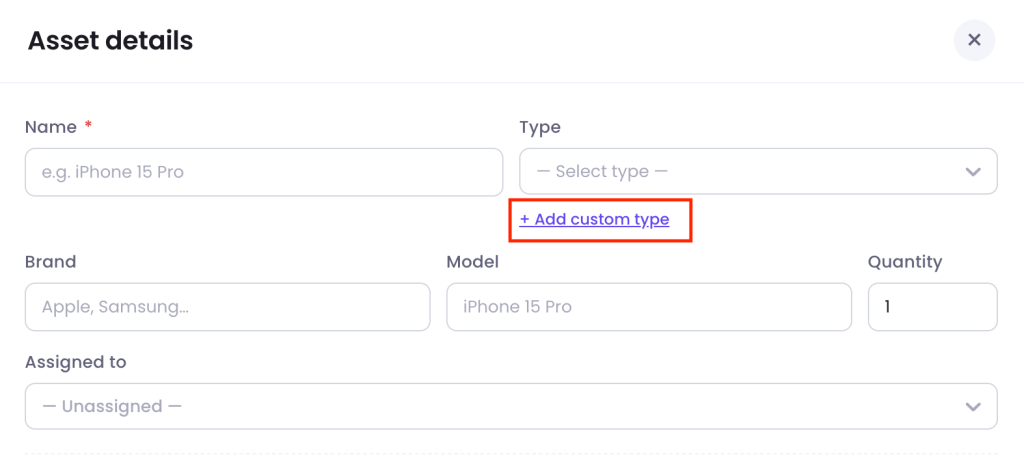
Also, there are some prearranged types of assets, however you can also add custom types:
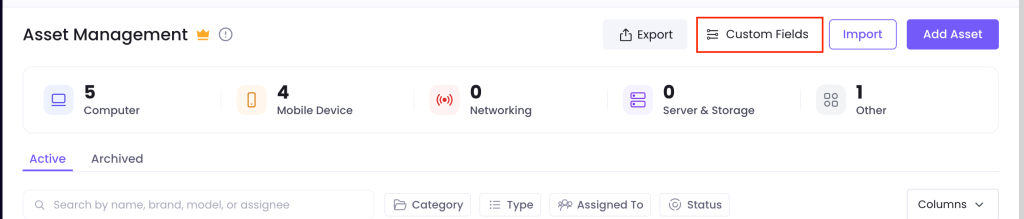
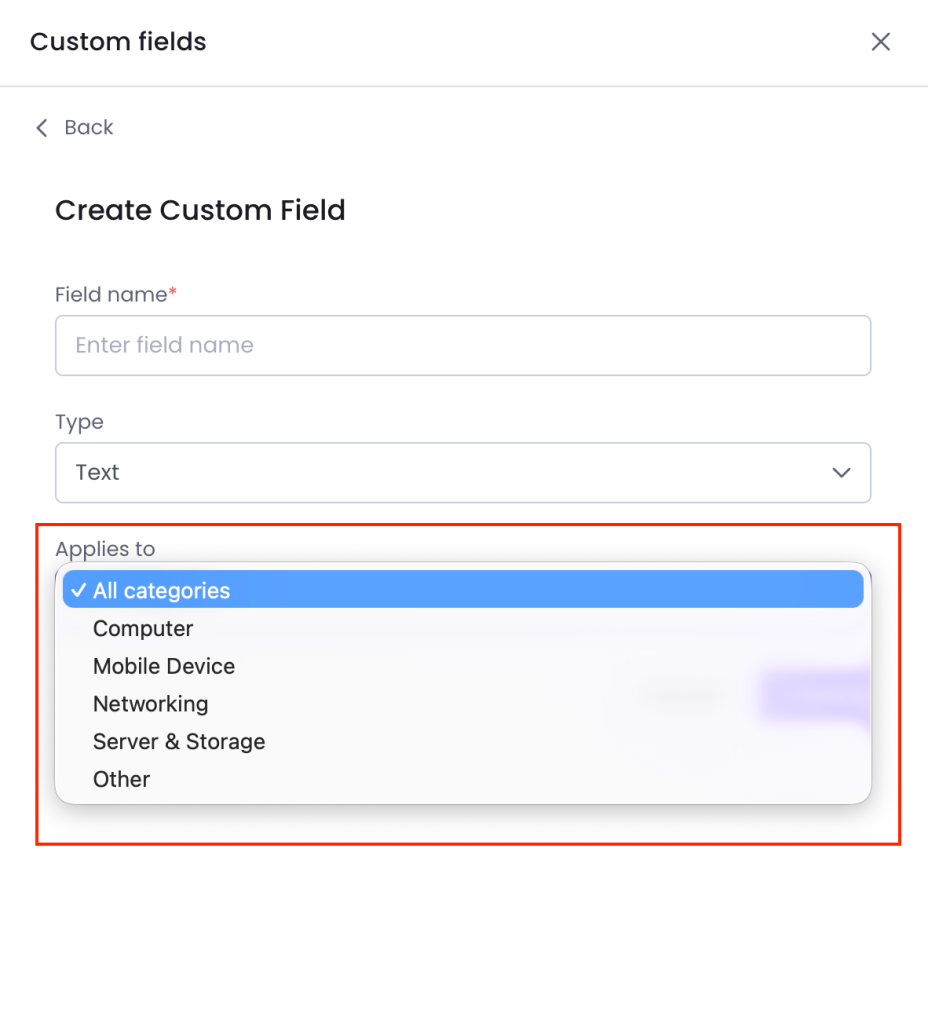
You can also add custom fields, if you feel like more fields are necessary to include the information about the asset. Learn more about custom fields here.

Custom fields can be applied to all asset types or to a specific asset type (e.g., computers only). Keep in mind that once you add a custom field to an asset type, it will appear on every asset of that type across your entire workspace — not just the one you’re currently looking at.
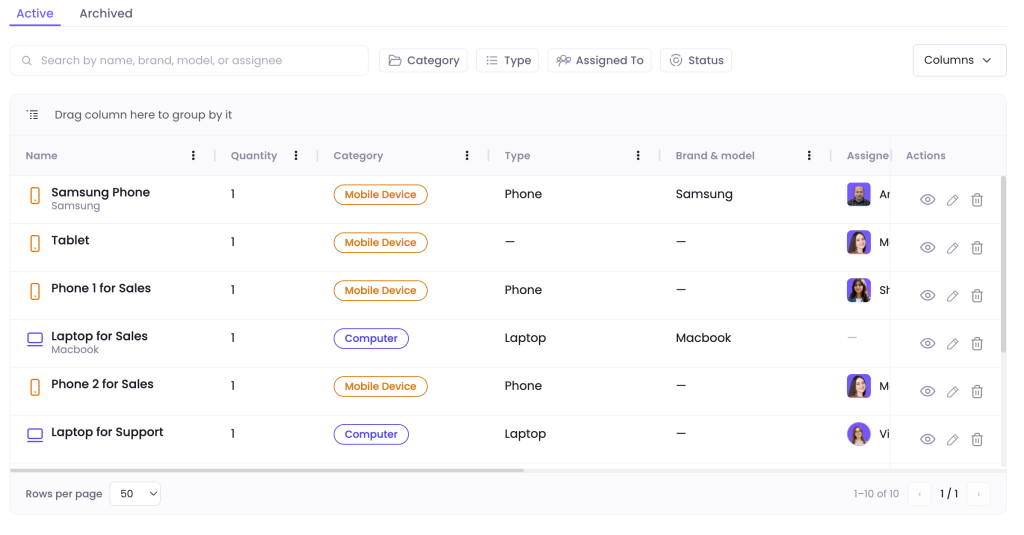
You can view the added assets in the Assets table. The table includes columns such as the name of the asset, quantity, category (computer/mobile/networking/server/other), type, brand & model, the member whom the asset is assigned to, the status (in use/available), asset addition date and modification date.
Additionally, to group some columns, you can drag the relevant column to the bar above the table:
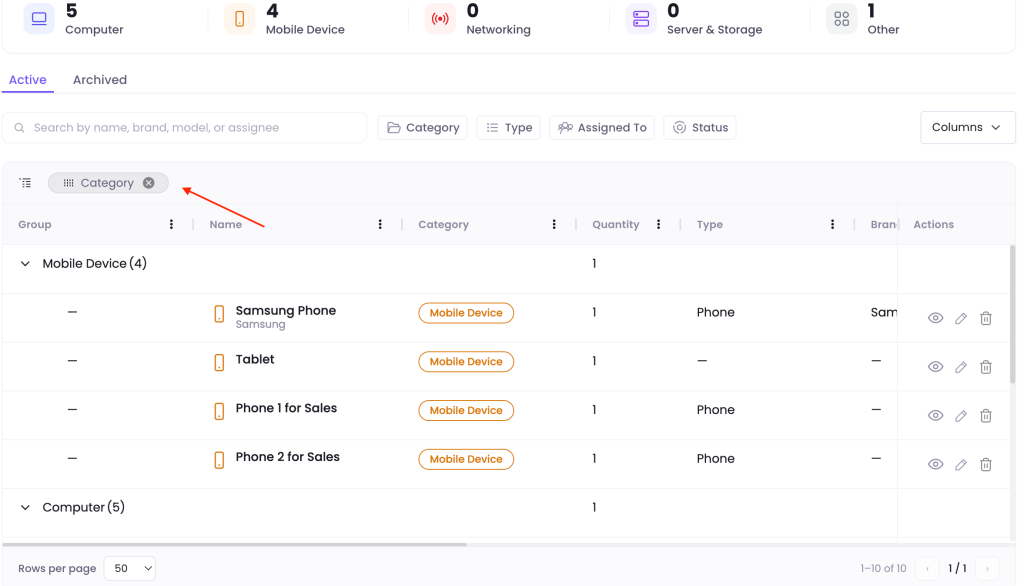
Note that only certain columns are possible to drag to the bar. Those are: Category, Type, Status, and Assigned to.
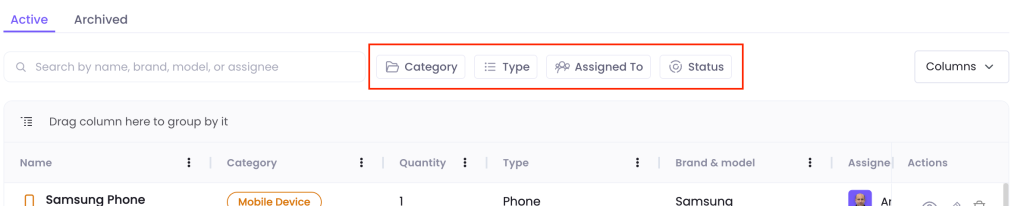
Filters are available next to the search bar:
At the top of the section you can also see the summary of all the assets added. Particularly you can see how many assets you have added from each category:

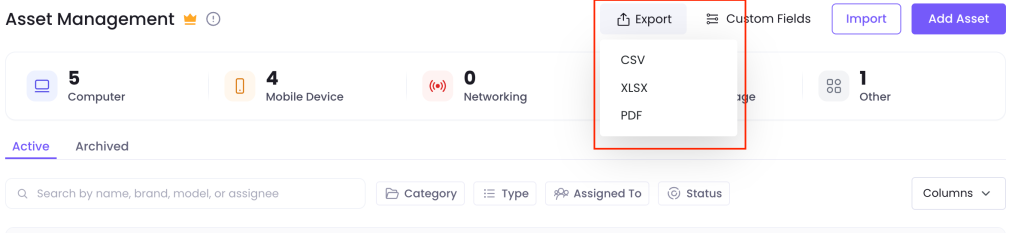
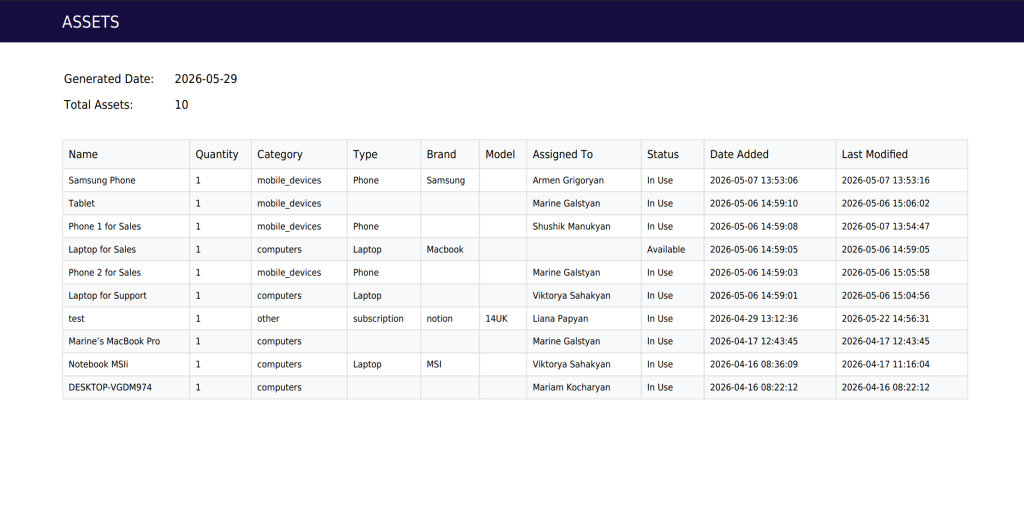
Exporting the Asset Management Section
The report is exportable in a CSV, XLSX or PDF file format:
Editing or Archiving the Assets
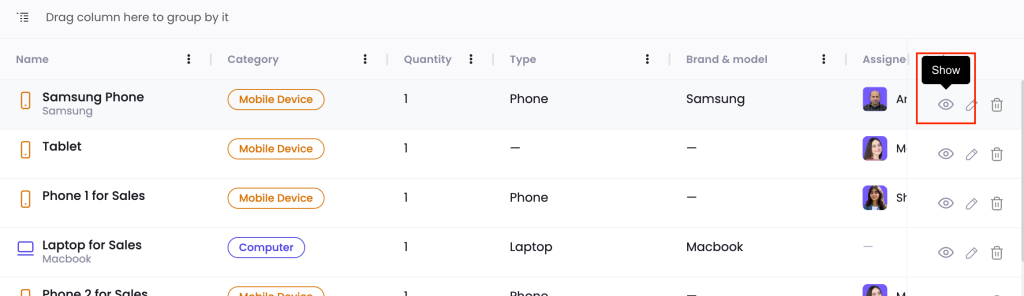
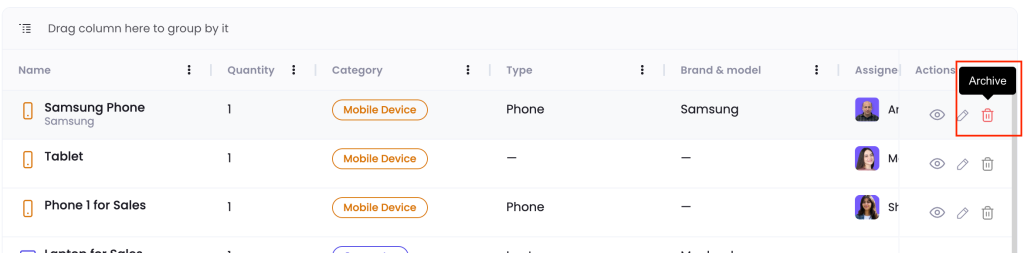
You can edit the asset by clicking on the pencil button next to the asset:

The eye button helps you to view the asset in detail:
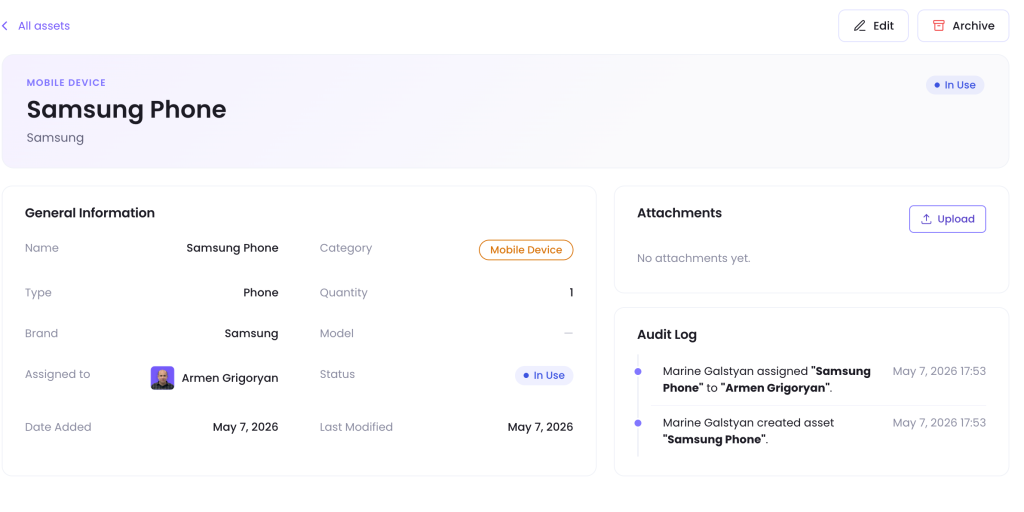
The detailed view not only gives you a more elaborate picture of the asset information, but also it enables you to see the Audit Log, showing what kind of changes were made on the asset and who was the initiator.
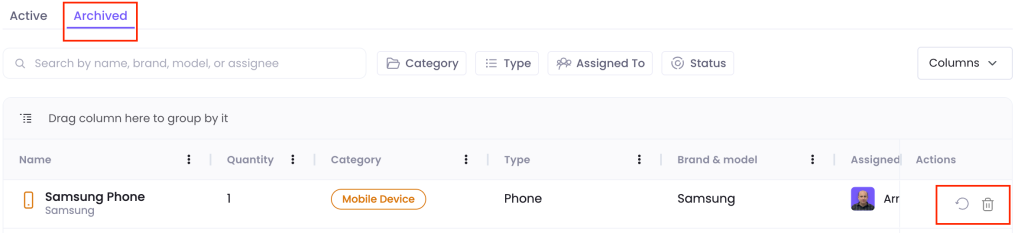
In order to remove the asset you should firstly archive it and then remove it from the Archived section permanently:
You can also restore the asset instead of fully deleting it:
Was this article helpful?
Thanks for your feedback.