Screenshots are one of the key features, helping teams maintain productivity, ensure transparency, and track work progress in real time. To use them effectively, members need to track time with the desktop application, which automatically captures screenshots according to your workspace settings.
To adjust your screenshot preferences, go to:
Settings > Screenshots
From here, you can configure frequency, modes, permissions, and more depending on your team’s needs and subscription plan.
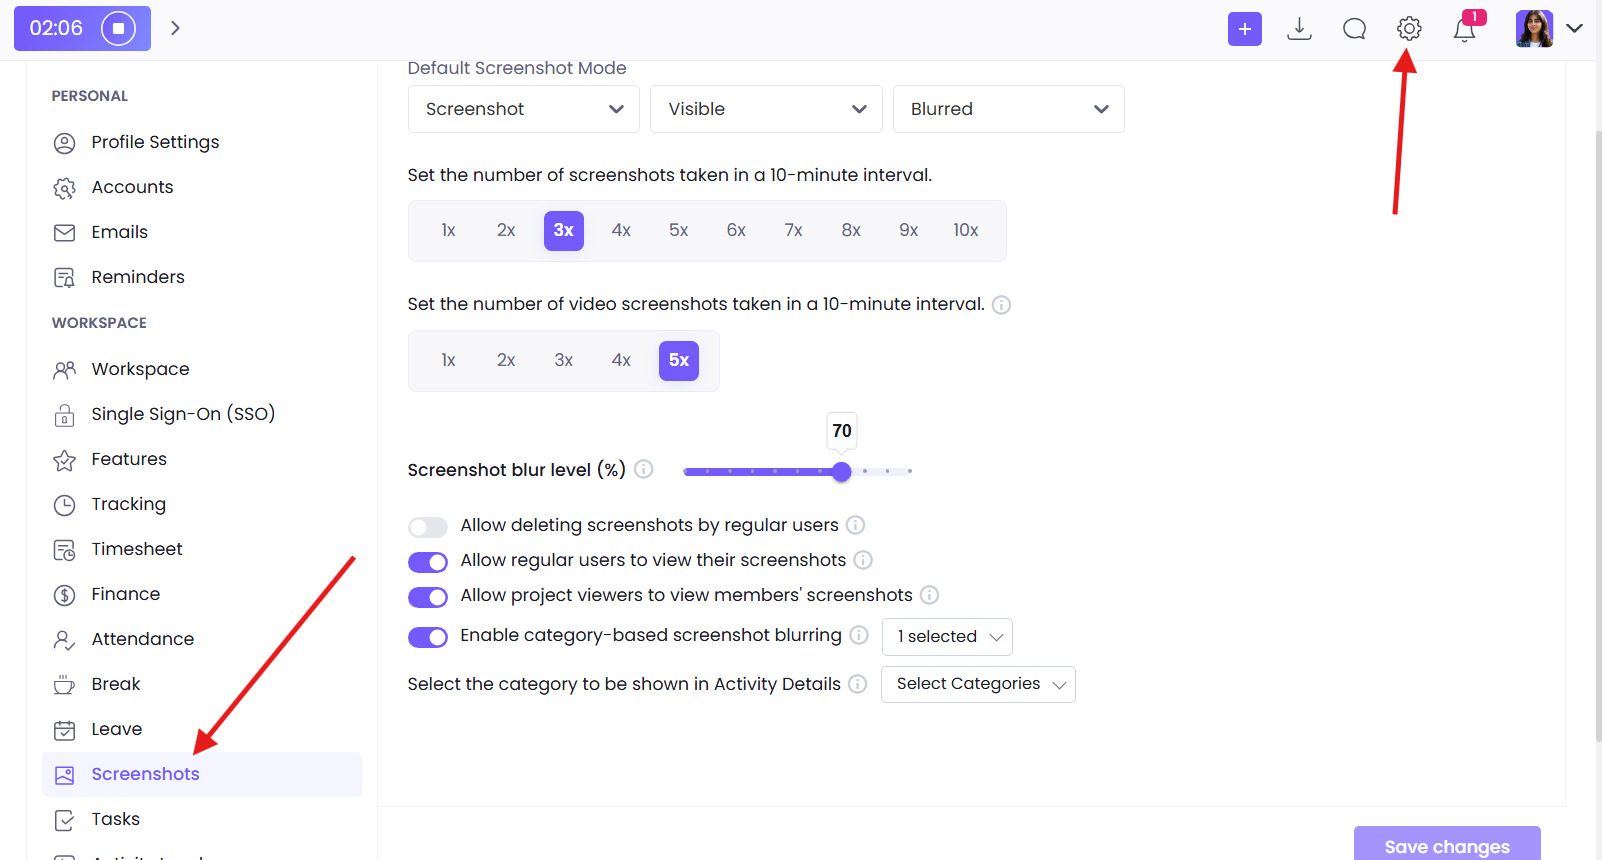
The first option you can adjust is how many screenshots are taken every 10 minutes. The available frequency depends on your plan:
-
Pro Plan > Up to 3 screenshots per 10 minutes
-
Plus & Premium Plans > Up to 10 screenshots per 10 minutes
This flexibility allows teams to balance accountability with privacy, depending on the nature of their work.
Screenshot modes
There are several settings available to customize screenshots. You can adjust the frequency, choose the screenshot mode, and set other preferences depending on your workspace’s needs by going to Settings, then Screenshots.
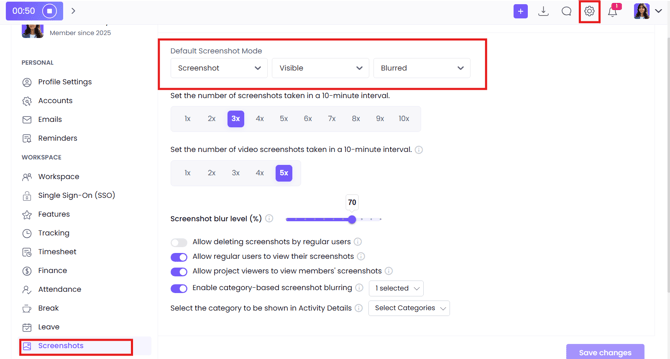
There are three criteria for screenshot adjustments available for the workspace.
The default mode is set at the workspace level, which applies when you create projects and assign users. However, you can override this default for individual projects or users if needed.
-
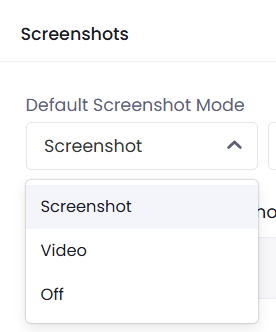
Screenshot/Video/Off
-
Screenshot – A normal screenshot is taken. You can have up to 10 screenshots per 10 minutes (up to 3 under Pro plan, and up to 10 under Plus or Premium plan).

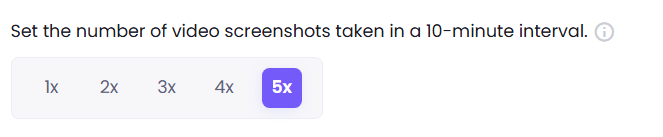
- Video – The videos are like a GIF composed of screenshots. You can have up to 5 video screenshots per 10 minutes. Videos are available only under Plus or Premium plans.
- Off – No screenshot or video will be taken
-
-
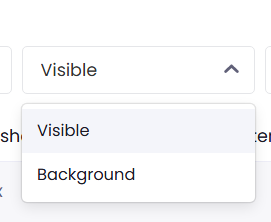
Visible/ Background
-
Visible – Whenever a screenshot/ video is taken, a notification appears in the bottom-right corner, allowing members to preview it.
- Background – The screenshot/video is taken, however no notification appears warning the user about it. The action is processed in the background. This ensures less distraction but still provides monitoring
-
-
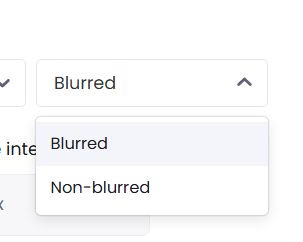
Blurred/Non blurred
-
Blurred – The captured image/video is blurred for added privacy. You can also choose the blur level in the same section.
-
Non-blurred – The captured image/video is fully readable.
-

If you do not want video screenshots to apply to the entire workspace, but only to a specific member, project, or contract, you can leave this setting unchanged and adjust it from the relevant section (Projects, Members, or Contracts).
If you do not want video screenshots to apply to the entire workspace, but only to a specific member, project, or contract, you can leave this setting unchanged and adjust it from the relevant section (Projects, Members, or Contracts). You can read more about this following this link: Screenshots: Modes, Settings, and Privacy
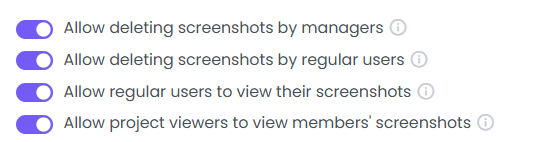
Next, you can configure permissions to control how screenshots are managed:
-
Allow deleting screenshots by managers
-
Allow deleting screenshots by regular users
Members can delete individual screenshots or remove them along with the tracked time.
-
Allow regular users to view their own screenshots
-
Allow project viewers to view members’ screenshots for the projects they are assigned to.
These options let you fine-tune who has access and control over the captured data.
For work involving confidential information, you can set screenshot blurring by category.
For example, if a category involves sensitive data (like HR or Finance), screenshots will automatically appear blurred whenever members work in that category.
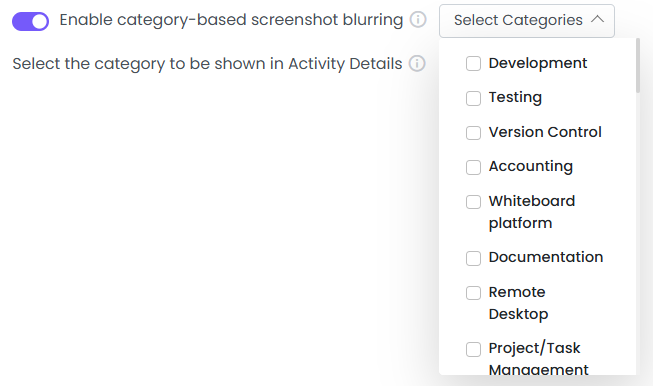
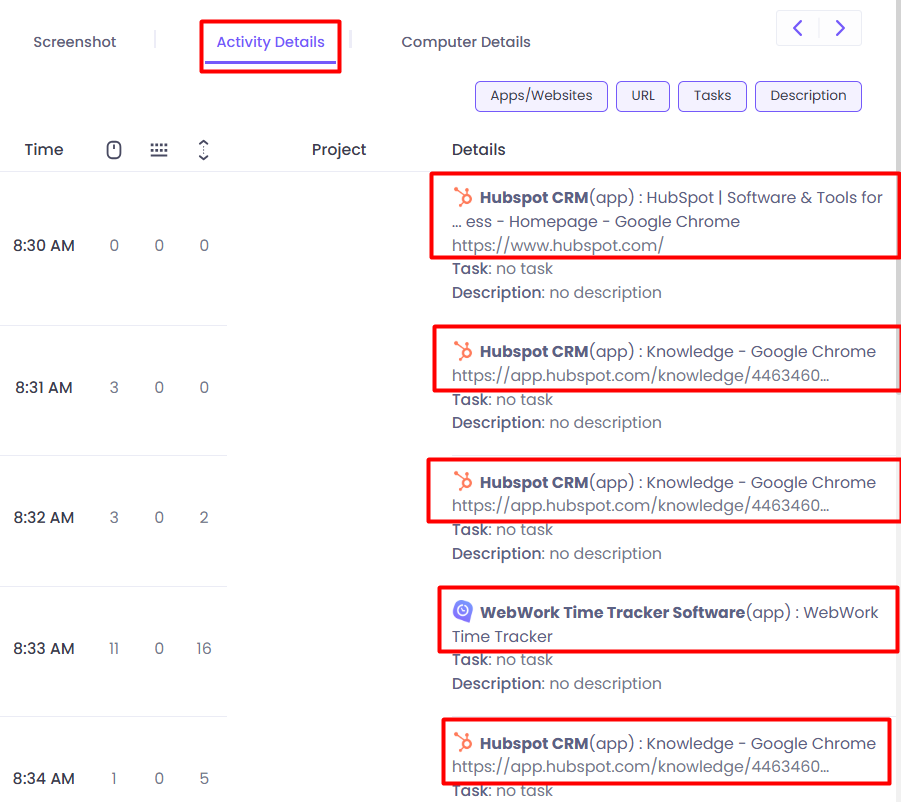
Finally, you can decide what information is displayed in the activity description of each screenshot.
-
Platform name
-
Window title
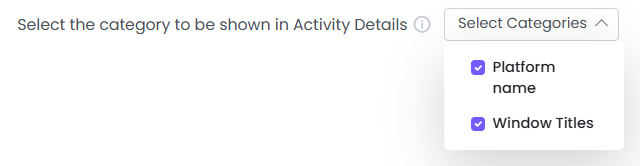
This provides context and makes it easier to understand what a member was working on during that time.
Was this article helpful?
Thanks for your feedback.