Zapier allows you to connect WebWork with apps that are not natively supported. Follow these steps to enable the integration, you can either use an existing Zap or create a new one:
Using an Existing Zap
- In your WebWork account, go to Integrations > Zapier

- Select the existing Zap you want to use

- Sign in to your Zapier account
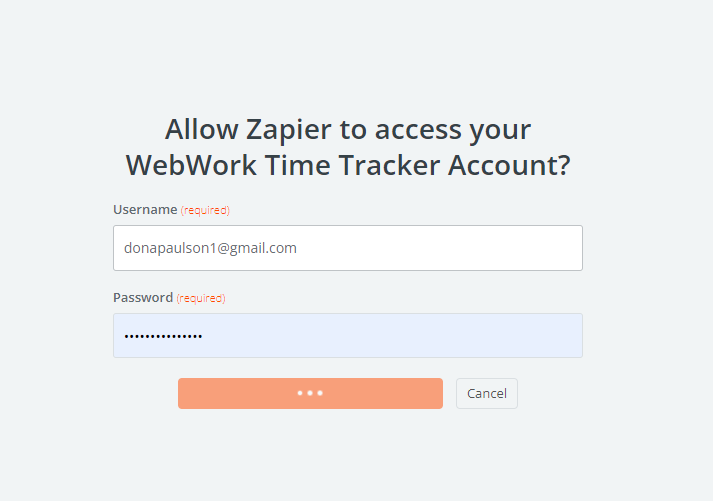
- Now sign in to both your WebWork and selected app account
- Grant access to both accounts
Once connected, you’ll be able to create automated workflows between WebWork and your selected app.
Creating a New Zap
If you want to Create a new Zap:
- Go to Integrations > Zapier in your WebWork account
- Click Create New Zap
- Sign in to your Zapier account
- Click Create > Zaps
- Set a Trigger event and an Action event

The Trigger is what activates your Zap
The Action is what the Zap will perform
Example: Google Sheets > WebWork
- Trigger: Select Google Sheets as the app, then choose a Trigger event
- Sign in to your Google Sheets account

- Select the spreadsheet and workflow this Zap should apply to

- Test the Trigger to make sure it works
- Action: Select WebWork Time Tracker as the app, then choose the action (e.g., Create Project).

- Enter the required details such as project name and ID

- Test the Action to confirm it works
- Publish Your Zap
Your Zap is now live and ready to automate workflows between WebWork and your chosen apps.
WebWork also supports integration with Make. Learn more about it here.