Zapier allows you to connect WebWork with apps that are not natively supported. Follow these steps to enable the integration, you can either use an existing Zap or create a new one:
Using an Existing Zap
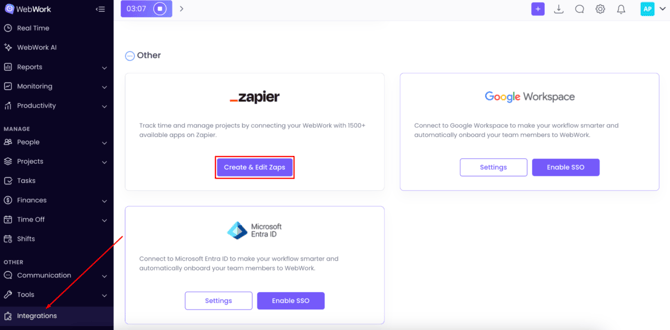
- In your WebWork account, go to Integrations > Zapier
- Select the existing Zap you want to use

- Sign in to your Zapier account
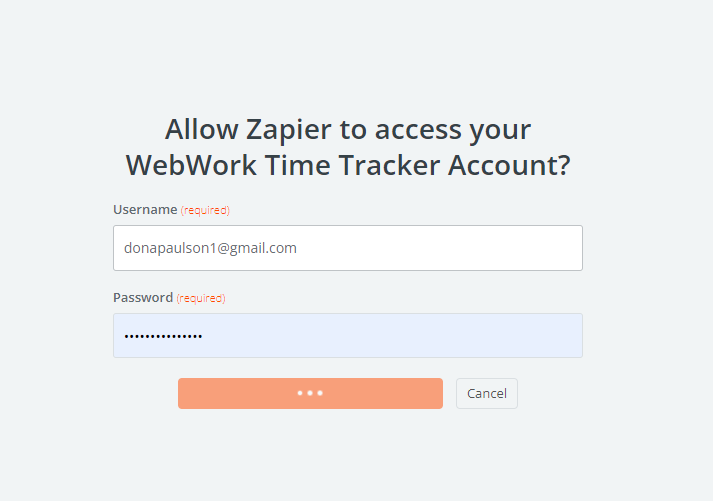
- Now sign in to both your WebWork and selected app account
- Grant access to both accounts
Once connected, you’ll be able to create automated workflows between WebWork and your selected app.
Creating a New Zap
If you want to
Create a new Zap:- Go to Integrations > Zapier in your WebWork account
- Click Create New Zap
- Sign in to your Zapier account
- Click Create > Zaps
- Set a Trigger event and an Action event
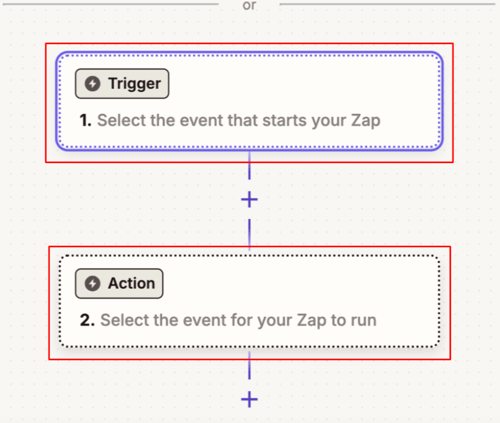
The Trigger is what activates your Zap
The Action is what the Zap will perform
Example:
Google Sheets > WebWork- Trigger: Select Google Sheets as the app, then choose a Trigger event
- Sign in to your Google Sheets account
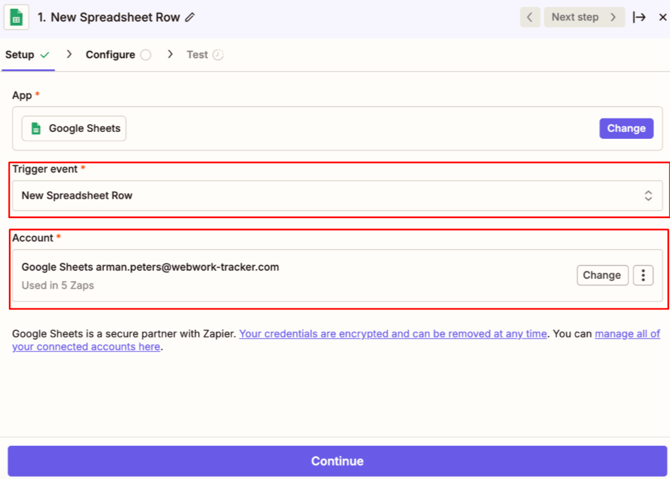
- Select the spreadsheet and workflow this Zap should apply to
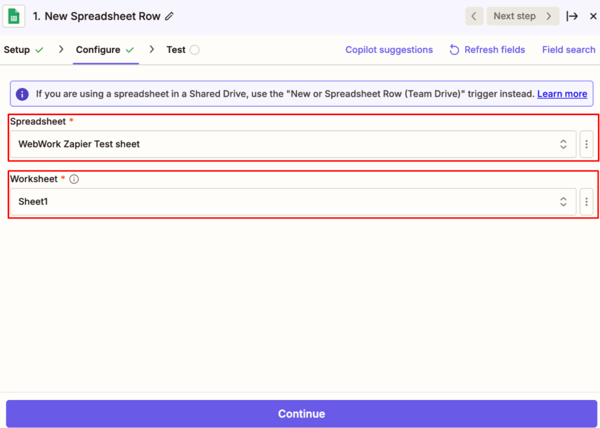
- Test the Trigger to make sure it works
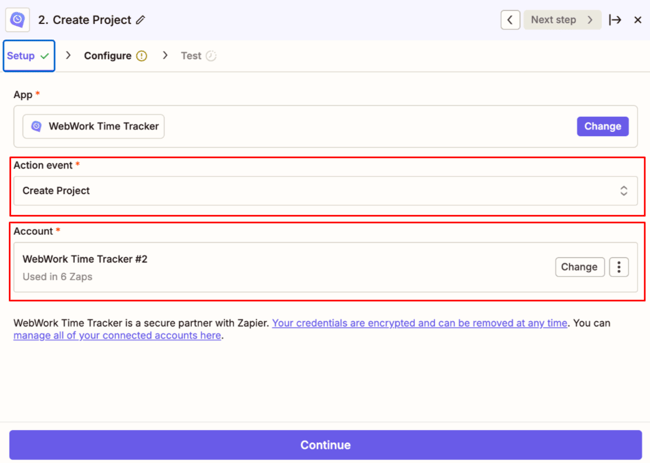
- Action: Select WebWork Time Tracker as the app, then choose the action (e.g., Create Project).
- Enter the required details such as project name and ID
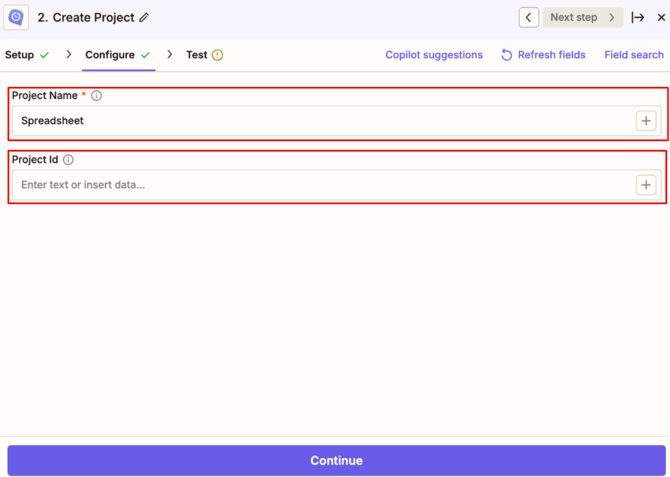
- Test the Action to confirm it works
- Publish Your Zap
Your Zap is now live and ready to automate workflows between WebWork and your chosen apps.
WebWork also supports
integration with Make. Learn more about it here.Was this article helpful?
Thanks for your feedback.