Let’s create a Zapier workflow to integrate WebWork with Google Sheets as an example.
The goal is to create tasks in WebWork from every new row in Google Sheets.
-
Select the Workflow
- Scroll down and select the Create task in WebWork Time Tracker from new rows in Google Sheets option from the suggested list.

-
Set up Trigger
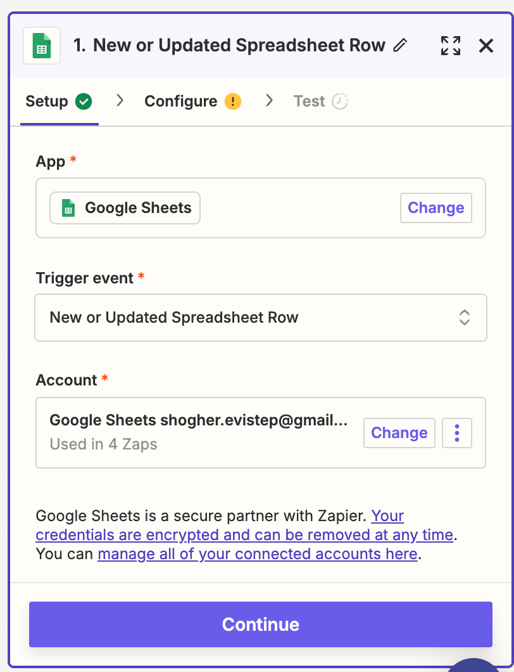
- Choose a trigger app: Google Sheets is selected automatically.
- Choose a trigger event: New Spreadsheet Row is selected automatically.
- Connect your Google Sheets account: If you haven’t already connected your Google Sheets account, you’ll be prompted to do so.
- Click Continue.
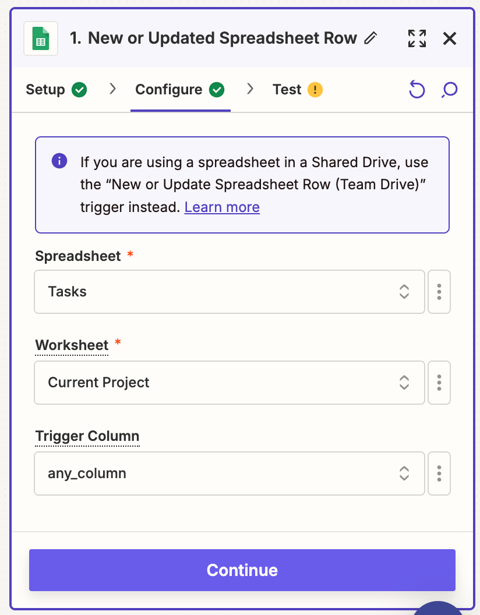
- Choose Spreadsheet: Select the Google Sheet that you want to use.
- Choose Worksheet: Select the specific worksheet within the spreadsheet and click Continue.
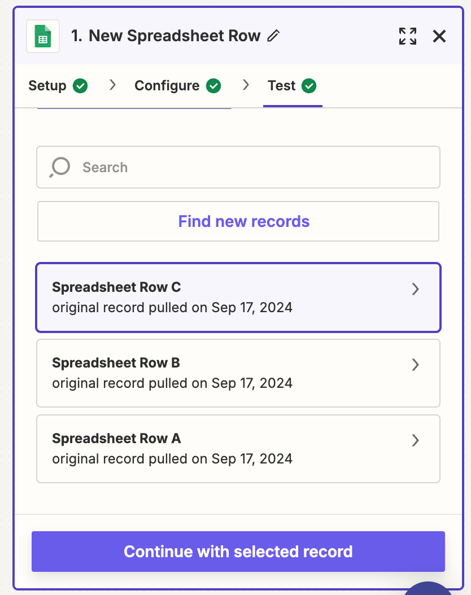
- Test the Trigger: Zapier will pull in a sample row from your Google Sheet to ensure everything is set up correctly.
- Click Test Trigger.
- Review test results: If Zapier finds records in your Google Sheets account and displays recent records from the specified Google Sheet, the test was successful.
- Press Continue with selected record.
-
Set up Action
Next, add an action:
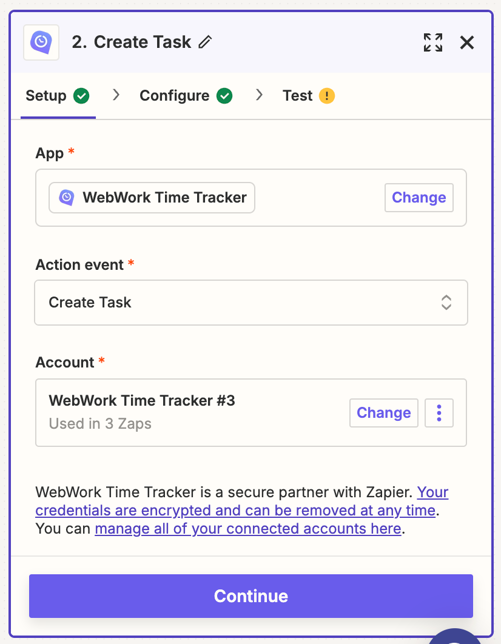
- Choose your action app: WebWork Time Tracker is selected automatically.
- Select your action event: Select Create Task, which will be the event that the Zap performs in WebWork.
- Select your app account: Choose the app account to use in the Zap action and click Continue.
-
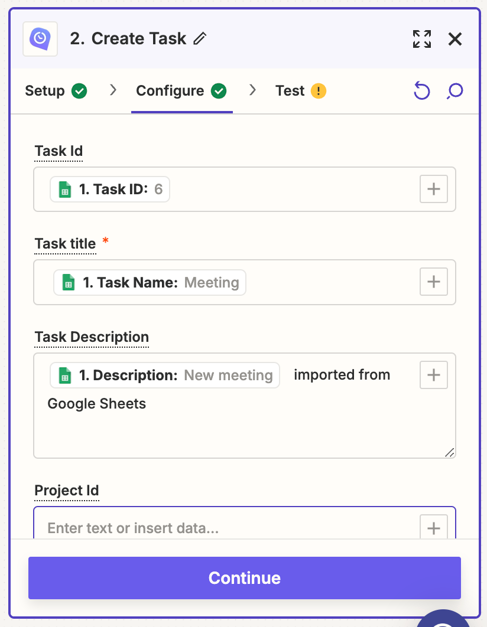
Set up your action: Configure the data that you want to send over to your action app.
- Task ID: Select the row with Task ID.
- Task Title: Select the row with Task Title.
- Task Description: Select the row with Task Description. You can also add custom text in this field.
- Project ID: Select the row with Project ID.
- Click Continue.
If you don’t have any of the mentioned data, you can skip it. You can also add custom text in the fields.
-
Test and Activate
- Test your action: Test your action to see if it’s working as expected.
- When you click Test, a new task will be created. Plus, a new project named “Zapier” will be created with the test task, which indicates that the test was successful.
- Publish your Zap: After you set up and test your Zap, click Publish. A new project named “Zapier” will be created in WebWork.
By following these steps, new rows in Google Sheets will turn into tasks in WebWork.
Was this article helpful?
Thanks for your feedback.