Available on Premium plan. Only the Workspace Owner & Executive Managers can enable SSO (single sign-on).
We recommend that you first enable SCIM and only then SAML.
WebWork SCIM integration features
WebWork’s SCIM integration supports several member management features.
- Push New Users
- New users created through Microsoft Entra ID will also be created in WebWork.
- Push Profile Updates
- Updates made to a user's profile through Microsoft Entra ID will be pushed to WebWork.
- Push User Deactivation
- Deactivating a user or disabling their access to the application through Microsoft Entra ID will deactivate the user in WebWork.
Note: for WebWork, deactivating a user means removing access to login, but maintaining their information as an inactive user.
- Reactivate Users
How to configure SCIM?
Note: to set up provisioning, you must first have Microsoft Entra ID SSO enabled for your workspace.
1. Go to Applications > Enterprise applications > New application > Create your own application.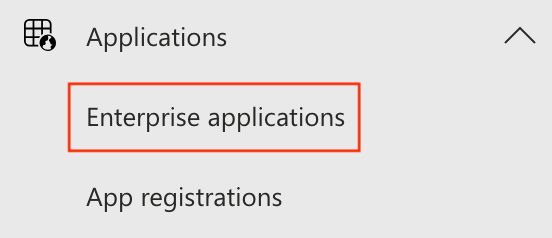


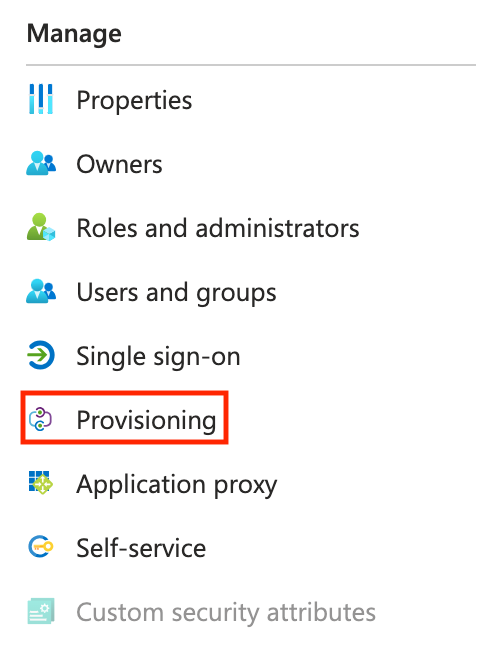
2. Then go to Provisioning > Connect your application.

3. Go to your WebWork account > Settings > Single Sign-On.
4. Copy SCIM Tenant URL and SCIM Secret Token.

5. Come back to Microsoft Entra ID and paste them in respective fields.
6. Click Test connection > Create
7. Go to Attribute mapping (Preview) > Provision Microsoft Entra ID Groups > switch Enabled to No > Save


8. Go to Attribute mapping (Preview) > Provision Microsoft Entra ID Users > scroll to Attribute Mappings
9. In Customappsso Attribute: emails[type eq “work”].value, click Edit Microsoft Entra ID Source attribute: from mail to userPrincipalName > click Ok
10. Also in Customappsso Attribute: externalId > Edit Microsoft Entra ID Source attribute: from mailNickname to objectId > then press Ok and Save


How to configure SAML after SCIM ?
1. Log in to your organization's Microsoft Entra ID admin center.
2. Click on Applications > Enterprise applications > your application > Set up single sign on > Get started > Select a single sign-on method (SAML)


3. Go to your WebWork account > Settings > Single Sign-On.
4. Copy SAML Identifier (Entity ID) and SAML Reply URL (Assertion Consumer Service URL)
5. Go to Basic SAML Configuration > Edit > paste them in their respective fields and Save.


6. Go to Attributes & Claims > Edit > in Additional Claims edit all 4 Claim names & Values from the version below to the next after it:
The version you need to use:
Access each attribute and fill the exact information shown in the steps below:


7. Go to SAML Certificates > copy App Federation Metadata URL > paste your WebWork account SSO settings > Save changes
8. Go to Users and groups > Add user/group > click User/Group > Select > Assign


9. Then Go to Single sign-on > click Test > Test sign in

This will direct you from Microsoft Entra ID back to your WebWork Account and SSO will be enabled on your Profile.

Note: To appear on WebWork’s Members page, assigned users must first log in with SSO.
In case you get the message “Application assignment failed”, go back to Enterprise applications > click on your Application > Provisioning > Pause provisioning > Start provisioning.
Automatic User Provisioning
With Automatic User Provisioning WebWork can manage user accounts based on your company’s Microsoft Entra ID directory. Instead of manually adding, updating, or removing members in WebWork, changes in Microsoft Entra ID are synced automatically.
-
New hires are added to WebWork as soon as they are created in Microsoft Entra ID.
-
Profile changes (name, email, role) are updated automatically.
-
Departing employees are deactivated in WebWork when removed from Microsoft Entra ID.
-
Reactivated employees regain access instantly once they’re restored in Microsoft Entra ID.
This ensures accurate, secure, and up-to-date member management without extra work from your IT team.
Make sure to follow those steps:
2. Click Sign in with Microsoft Entra ID
3. Enter your Microsoft Entra ID email address
https://www.webwork-tracker.com/login/sso